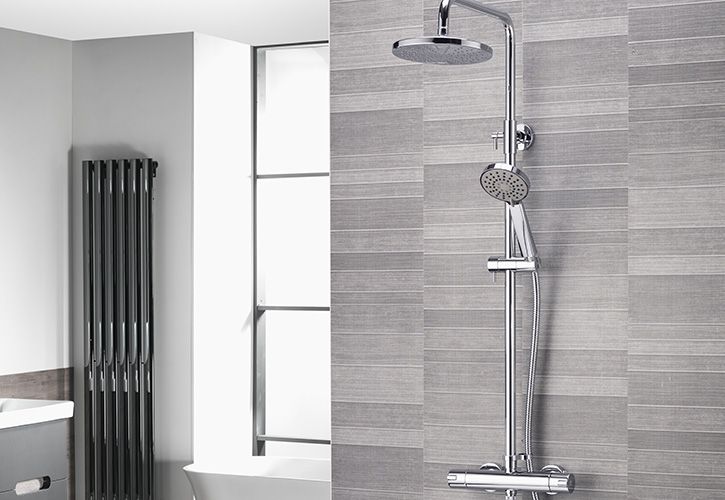


A well-maintained heating system is essential for a comfortable and energy-efficient home. One of the most critical maintenance tasks for your heating system is cleaning and flushing. Over time, sediment, rust, and debris can accumulate in the pipes and radiators, reducing heating efficiency and potentially causing damage.
In this comprehensive guide, we will walk you through the process of cleaning and flushing your heating system to keep it in optimal condition.
Why Cleaning and Flushing?
Cleaning and flushing your heating system offer several benefits:
Improved Efficiency: Removing built-up debris allows hot water to flow freely, improving the system's efficiency and reducing energy consumption.
Extended Lifespan: Regular maintenance helps prevent corrosion and damage, prolonging the life of your heating system.
Consistent Heat: A clean system distributes heat more evenly, eliminating cold spots in your home.
Lower Energy Bills: An efficiently operating heating system consumes less energy, leading to cost savings over time.
Steps to Clean and Flush Your Heating System
Turn Off the Heating System: Before you begin, turn off your heating system completely. This ensures safety during the maintenance process.
Gather Your Tools and Materials:
- Screwdriver or wrench
- Hosepipe
- Towels and buckets
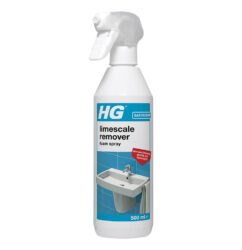
- A cleaning agent (e.g., Cleaning Products )
- Inhibitor (e.g., Heating Protector )
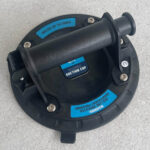
Drain the System:
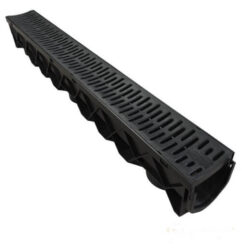
- Locate the drain valve at the lowest point in your heating system, usually near the boiler. Attach a hosepipe to it and direct the other end into a drain or a container.
- Open the drain valve and allow the water to flow out. This will drain most of the water from your system.
Remove Radiator Panels:
- If you have radiator panels, remove them to access the radiators.
- Note that some radiators may have drain valves at the bottom. If so, open these valves to drain any remaining water.
Add the Cleaning Agent:
- Follow the manufacturer's instructions to mix the cleaning agent with water.
- Pour the mixture into the heating system via a radiator or a filling loop, depending on your system's design.
Reconnect and Refill:
- Reconnect the radiator panels or close the drain valves on the radiators.
- Refill the system with water, ensuring you maintain the recommended pressure level.
Bleed Radiators:
- Go through the process of bleeding your radiators to release any air that may have entered the system.
Run the Heating System:
- Turn on your heating system and let it run for a few hours, allowing the cleaning agent to break down debris and sludge.
Drain and Flush Again:
- After the cleaning agent has circulated, repeat the drain and flush process to remove loosened debris and the cleaning agent.
Add Inhibitor:
- Once the system is clean and flushed, add an inhibitor to protect against future corrosion and build-up. Follow the manufacturer's instructions for the correct dosage.
Refill and Rebalance:
- Refill the system with water and check the pressure.
- Rebalance your radiators to ensure even heat distribution.
Monitor and Maintain:
- Regularly check your heating system for any signs of issues, such as leaks or uneven heating, and address them promptly.
Conclusion
Cleaning and flushing your heating system is a vital maintenance task that should be performed regularly to ensure it operates efficiently and lasts for many years. By following the steps outlined in this guide and using the appropriate cleaning agents and inhibitors, you can enjoy a warm and comfortable home while reducing energy costs and extending the life of your heating system. If you are unsure about any part of this process, consider consulting a professional heating engineer for assistance.